Setting up the Unity environment
A quick, visual guide to launching the Unity environment and connecting from Python (TensorAeroSpace + ML‑Agents).
-
Quick start
Clone the project, install dependencies, open a scene, and run.
-
Build the environment
How to build a standalone player and launch in headless mode.
-
Python connection
Example via
gym-unity: build and (optionally) Editor. -
Troubleshooting
Common problems and how to solve them.
Requirements
- Unity Hub and Unity 2021.3.5f1 (tested)
- Python 3.8+ (3.10–3.11 recommended) with
pip - Access to the
UnityAirplaneEnvironmentrepository
Version compatibility
The examples rely on Unity 2021.3.5f1 + mlagents==1.1.0. Check the ML‑Agents docs for other versions.
Quick start
1) Clone the repository
2) Python dependencies
Install the packages that bridge Unity and Python:
Isolated environment
Using venv/conda is recommended.
3) Install Unity
- Install Unity Hub:
https://unity.com/download - In the Hub add the Unity 2021.3.5f1 editor:
https://unity.com/releases/editor/archive
Important
Use the specified editor version. Mismatched versions can break packages/scenes.
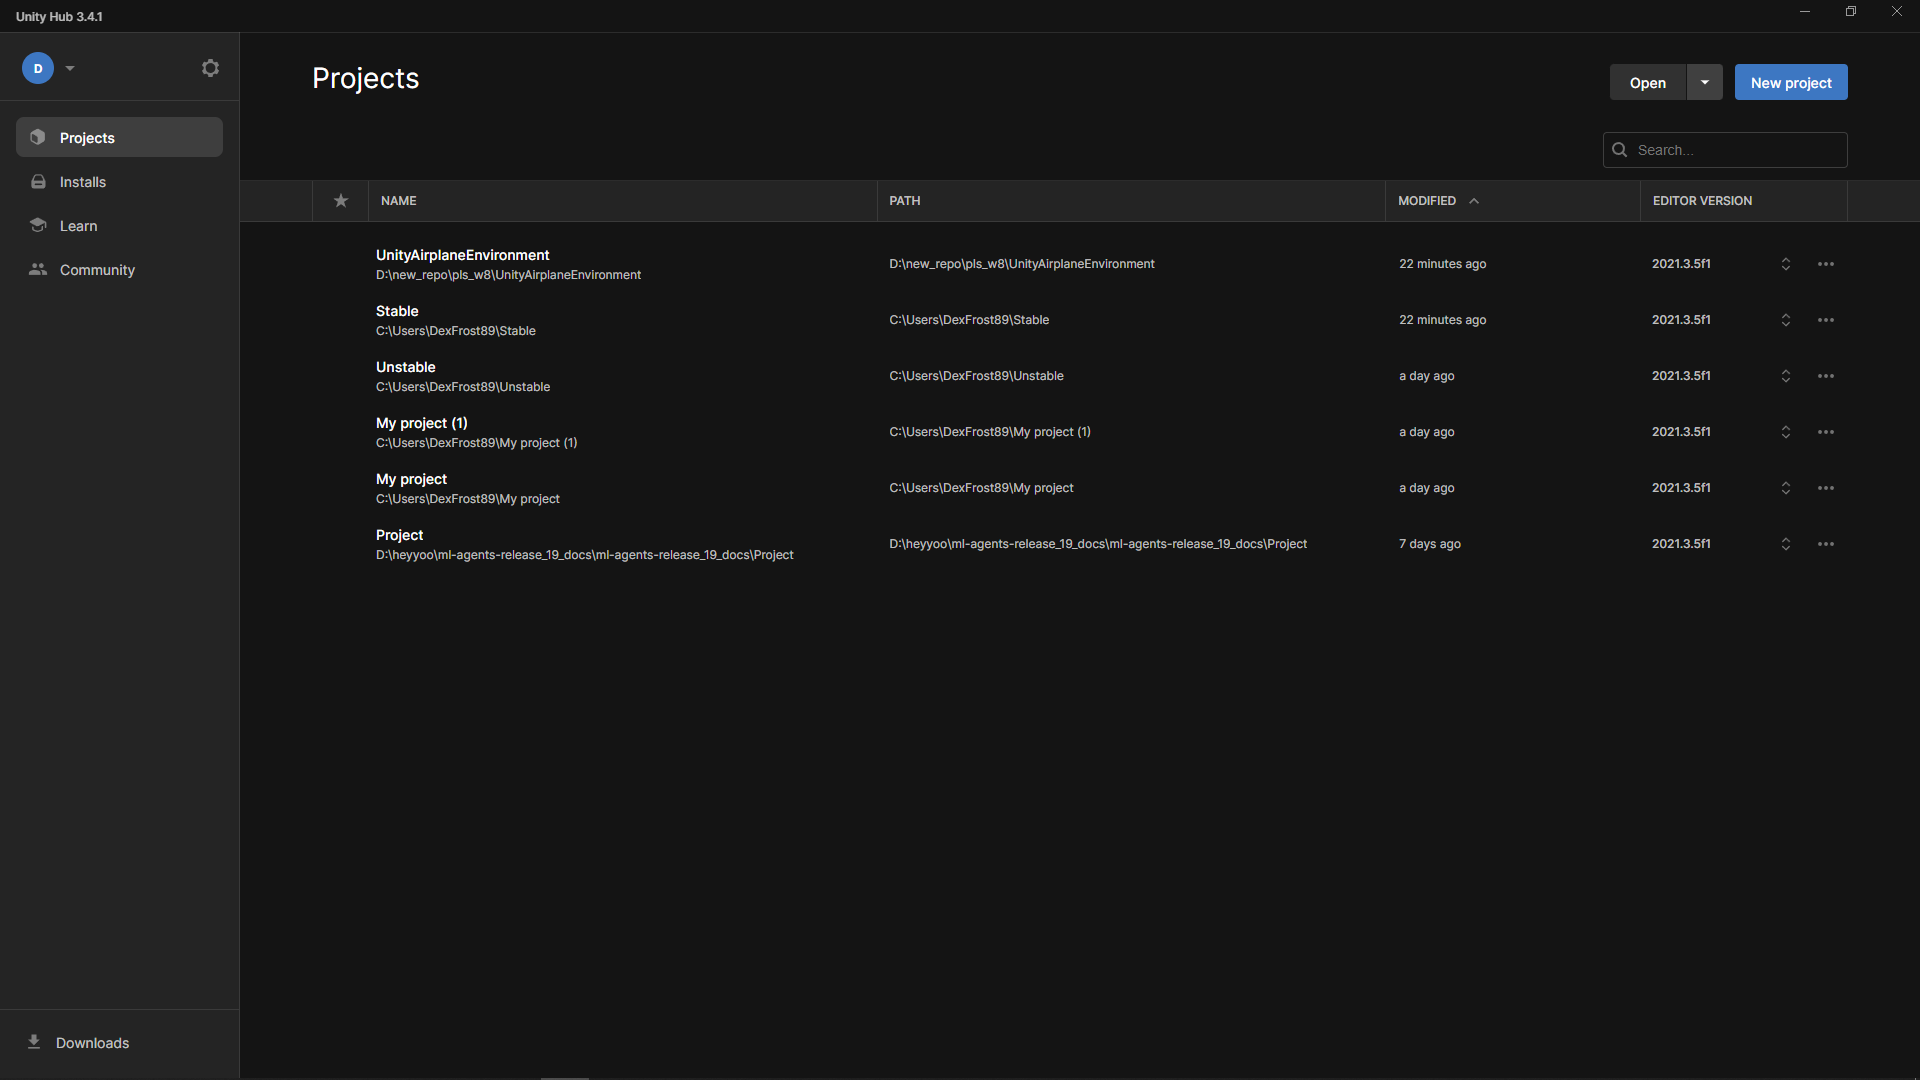
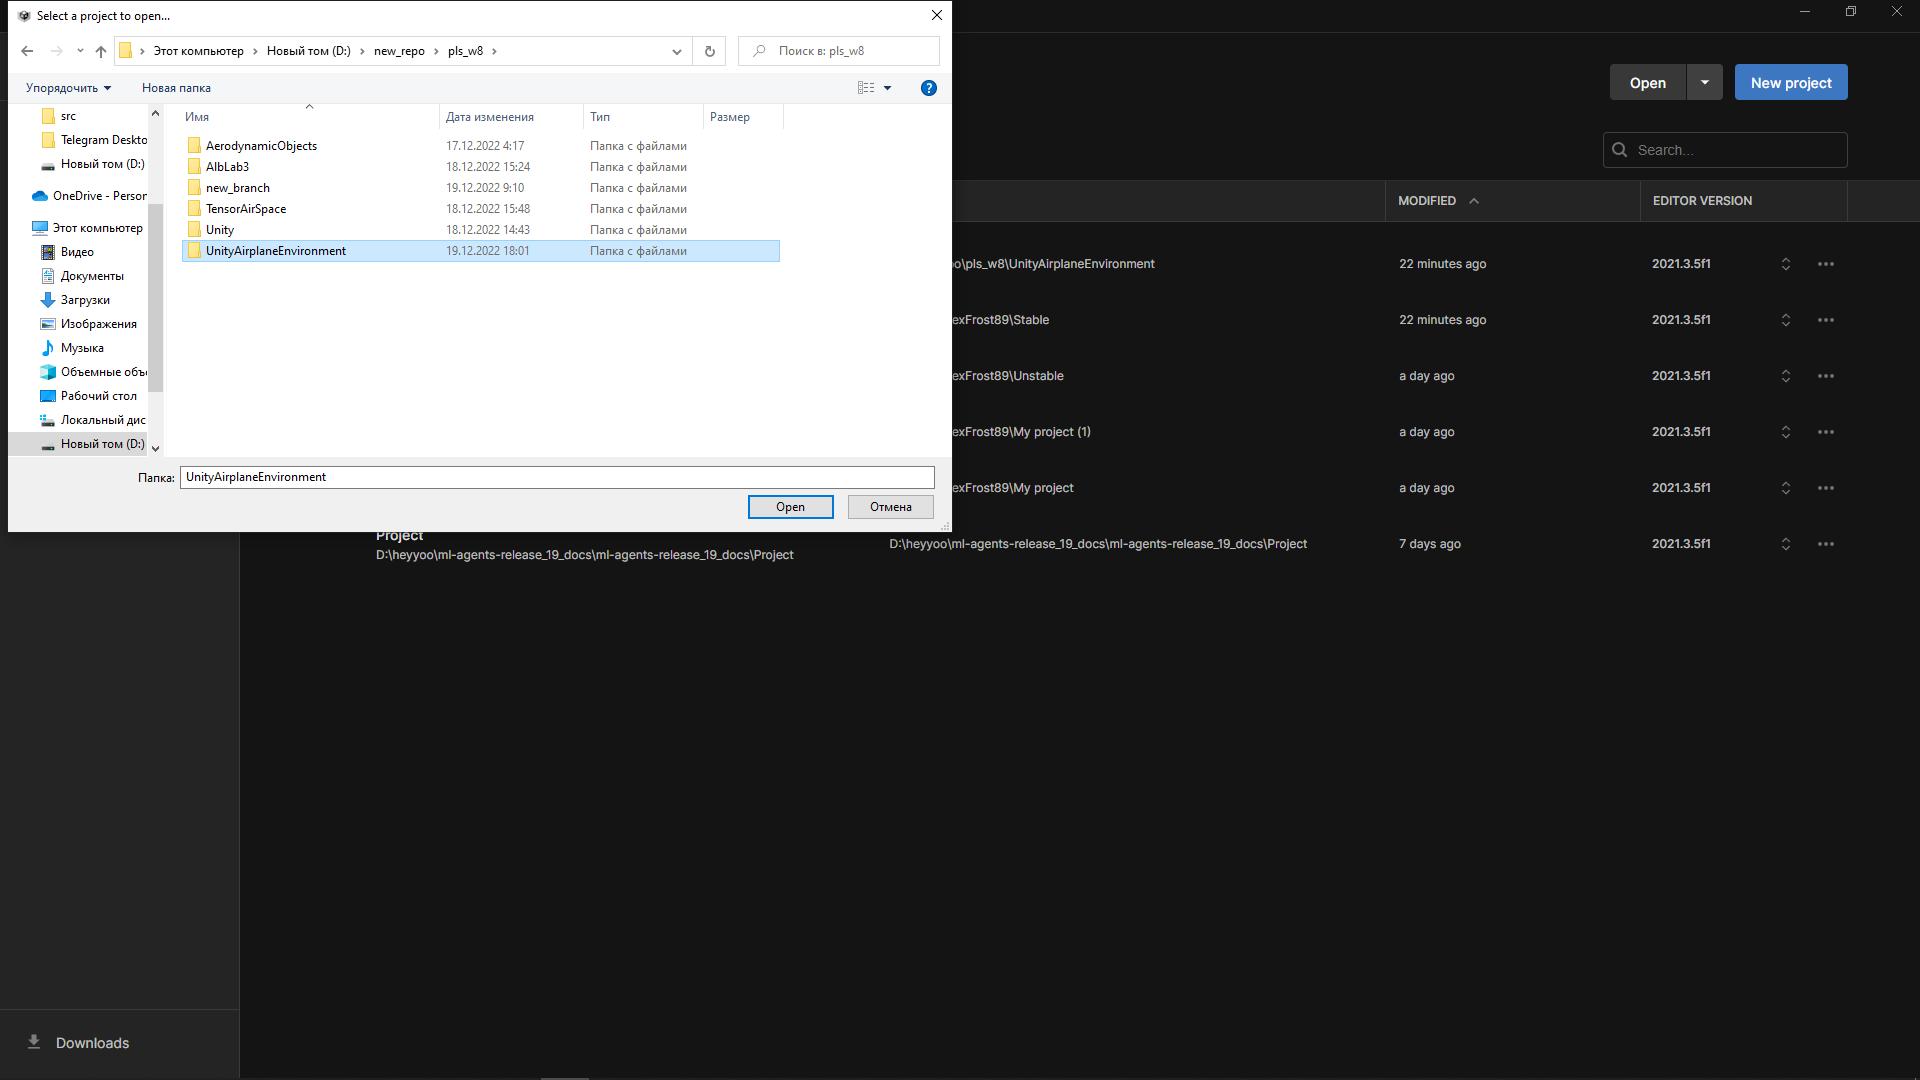
4) Open the project in Unity Hub
1) Launch Unity Hub → "Open" → point to the project directory.
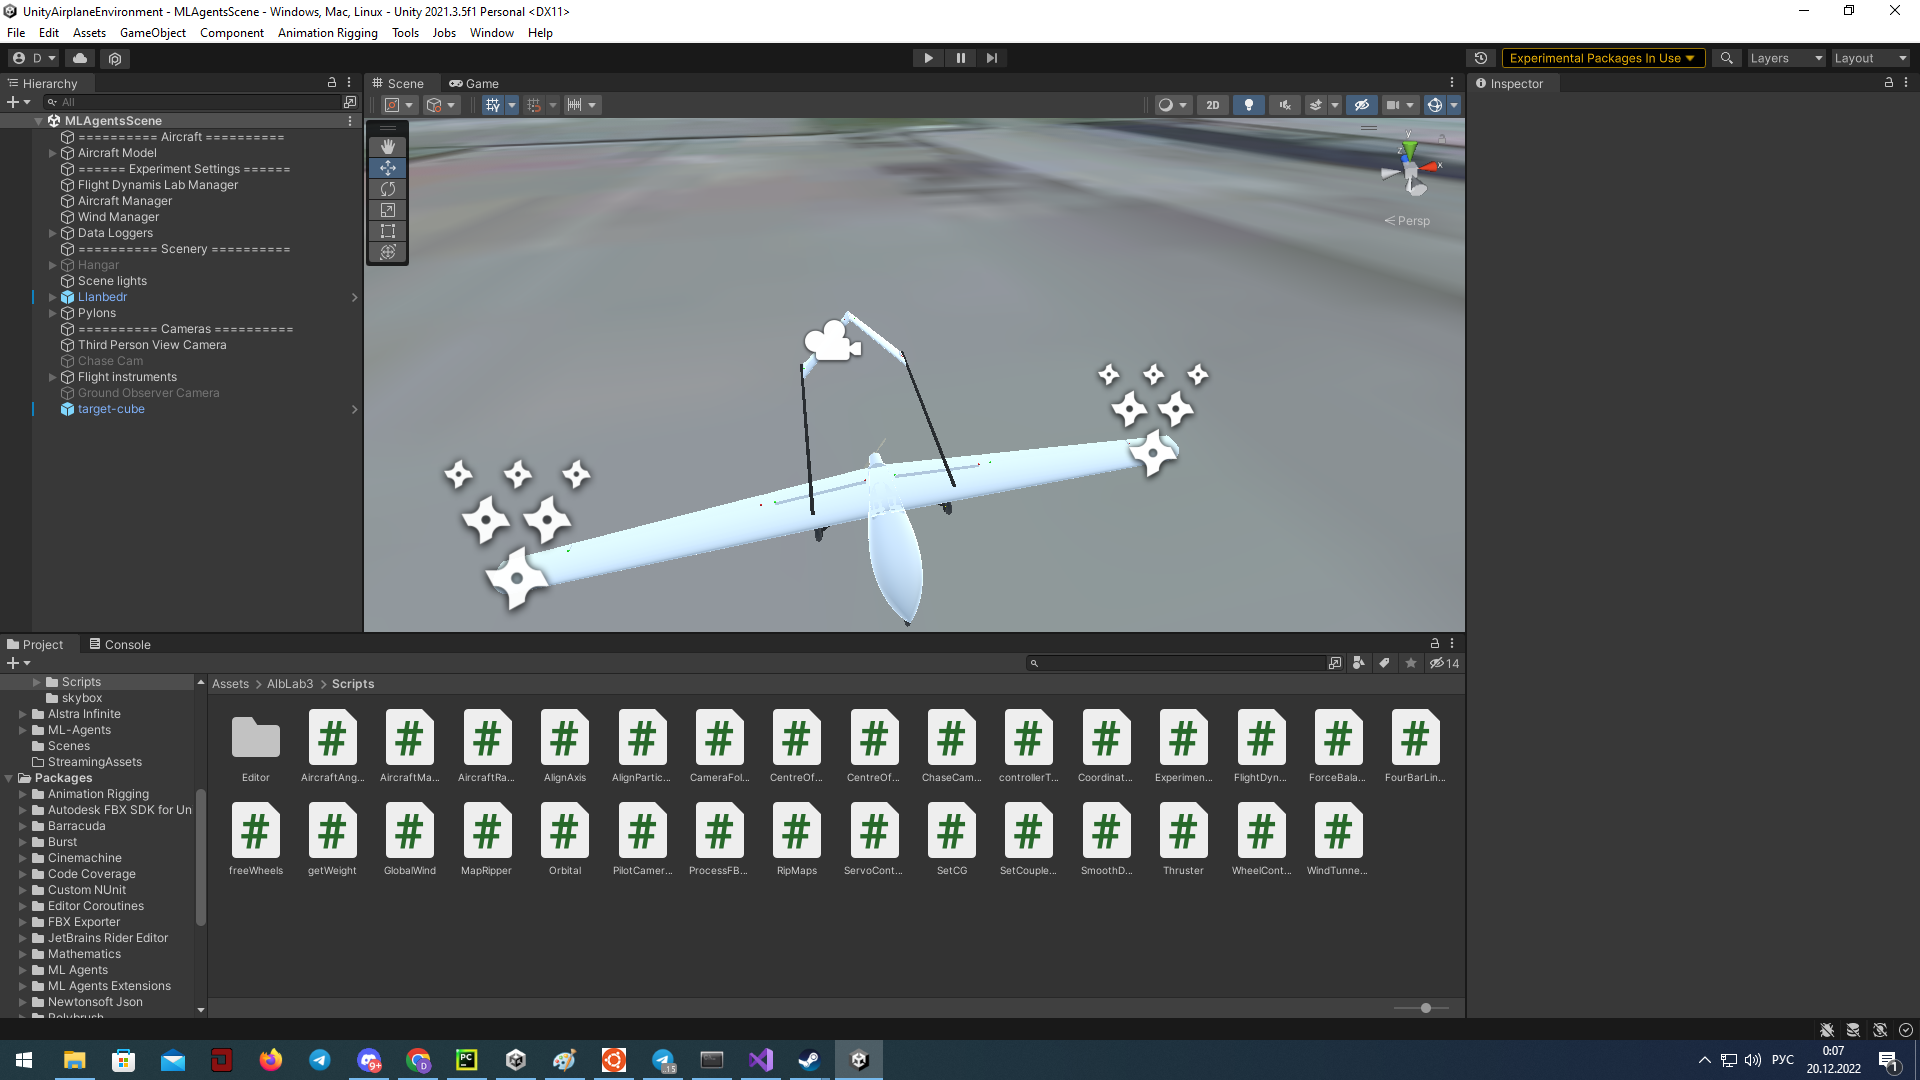
2) Select the project and open it.
5) Choose a scene and run it
In Unity Editor open Assets/AlbLab3/Scenes/MLAgentsScenes → e.g. MLAgentsScene.
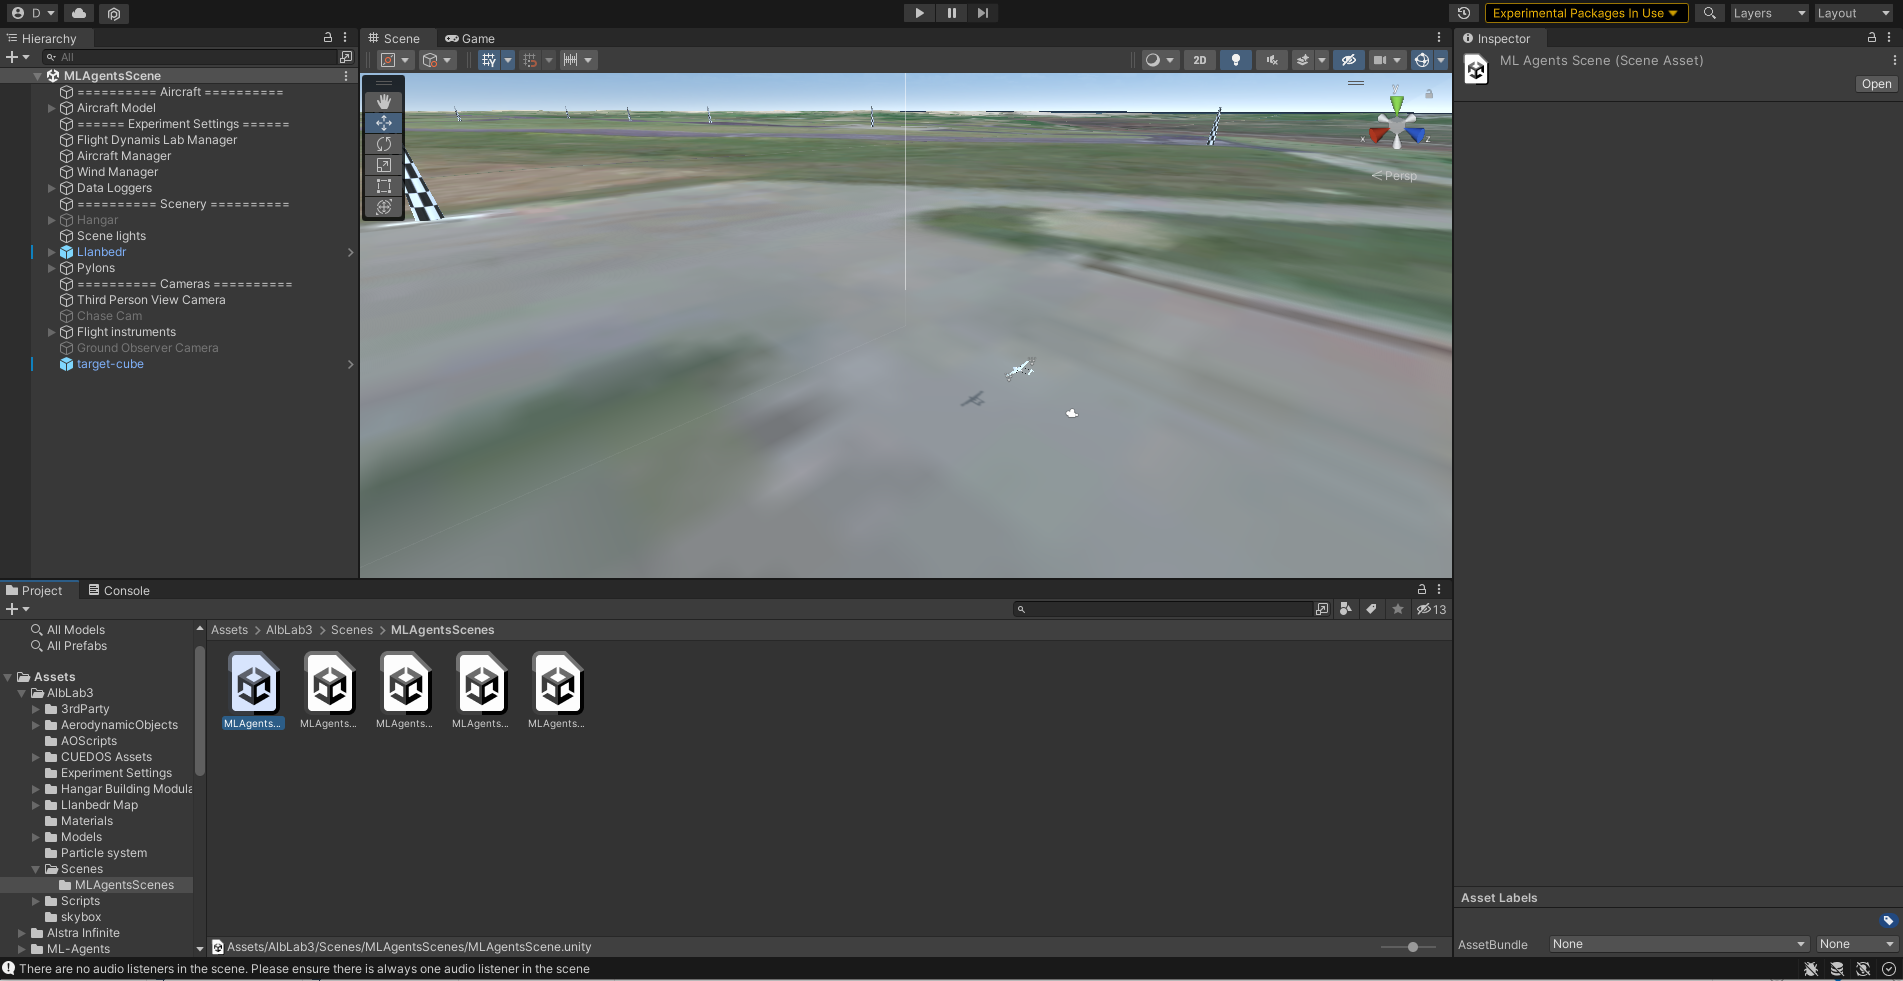
Press ▶ (Play) — the scene should start without errors.
All set
If Play runs and agents activate, you can proceed to the Python connection.
Build the environment
Recommended for stable runs and headless mode:
1) In Unity go to File → Build Settings…
2) Select the platform (Windows/Mac/Linux) and add the scene to "Scenes In Build".
3) (Optional) Player Settings → enable "Run In Background".
4) Click "Build" and choose a path (e.g. ./Builds/AirplaneEnv/AirplaneEnv).
Headless
For servers and CI use a build without graphics and set no_graphics=True when initializing the environment from Python.
Connect from Python
from gym_unity.envs import UnityToGymWrapper
from mlagents_envs.environment import UnityEnvironment

# Path to the built environment
env_path = "./Builds/AirplaneEnv/AirplaneEnv"
unity_env = UnityEnvironment(file_name=env_path, no_graphics=True)
env = UnityToGymWrapper(unity_env, uint8_visual=False)

obs = env.reset()
done = False
total_reward = 0.0

while not done:
    action = env.action_space.sample()
    obs, reward, done, info = env.step(action)
    total_reward += reward

print("Episode reward:", total_reward)
env.close()
from gym_unity.envs import UnityToGymWrapper
from mlagents_envs.environment import UnityEnvironment

# Connect to the Editor: run the scene in Play mode and allow the connection
unity_env = UnityEnvironment(file_name=None)
env = UnityToGymWrapper(unity_env, uint8_visual=False)

obs = env.reset()
action = env.action_space.sample()
obs, reward, done, info = env.step(action)
env.close()
Editor vs Build
- Editor is convenient for debugging; the connection may not always be stable.
- Build is preferable for experiments/servers (no graphics).
Common problems and solutions
-
Package version mismatch
Ensure you installed compatible version:mlagents==1.1.0. -
Scene fails to run (Editor)
Check the Unity console, the packages listed inPackages/manifest.json, and that the scene is added to Build Settings. -
Python cannot find the environment
Verify thefile_namepath to the build (for Build) or that the Editor is in Play mode (for Editor).
On Linux make sure the binary is executable (chmod +x). -
Port conflicts
If the port is busy, close other environment/Editor instances. Restart the Python process.
What's next
- Run TensorAeroSpace examples and agents (see the "Models" and "Agents" sections)
- Integrate the Unity environment into benchmarks/training scripts
- Build your own controllers and rewards, assemble scenes for your tasks
Related Examples
- Unity with DQN — train a DQN agent
- Unity with SAC — train a SAC agent (continuous control)